
A Beginner’s Guide to Painting Flowers: Ways & Techniques
Painting flowers is a beautiful way to express creativity, whether using watercolors, acrylics, or oils. Flowers are full of vibrant colors, delicate petals, and organic shapes that make them a fun and rewarding subject for artists at any skill level.
This guide will walk you through the best techniques, tools, and step-by-step instructions to help you create stunning floral paintings!
🎨 1. Choosing the Right Medium for Flower Painting
Before starting, decide which type of paint you’d like to use. Each medium has its unique effects:
✔ Watercolors – Soft, translucent, and great for delicate petals.
✔ Acrylics – Bright, bold colors that dry quickly.
✔ Oils – Rich colors with a smooth blending effect but require more drying time.
💡 Tip: If you’re a beginner, acrylics are a great choice because they are easy to work with and correct if needed.
🖌 2. Essential Tools for Flower Painting
✔ Canvas or Paper – Thick watercolor paper for watercolors, or a canvas for acrylics/oils.
✔ Paintbrushes – Round brushes for petals, flat brushes for backgrounds.
✔ Palette – For mixing colors.
✔ Water or Medium – Water for watercolors, acrylic medium for acrylics, and linseed oil for oils.
💡 Tip: A small detail brush is perfect for adding tiny veins on petals or highlights!
🌸 3. Step-by-Step Guide to Painting Flowers
Step 1: Choose Your Flowers
Pick a flower to paint—roses, tulips, sunflowers, or daisies are great for beginners.
Step 2: Sketch a Basic Outline
✔ Use a light pencil to sketch simple shapes of the petals and stems.
✔ Don’t worry about details yet—just capture the basic form of the flower.
Step 3: Start with the Background
✔ If using acrylics or oils, paint the background first for a smooth composition.
✔ Use soft, blended colors for a dreamy effect or bold colors for contrast.
Step 4: Paint the Base Colors of the Flowers
✔ Start with light washes (for watercolors) or thin layers (for acrylics/oils).
✔ Work from light to dark, gradually building depth.
Step 5: Add Shadows & Highlights
✔ Look at a real flower or a photo to see where shadows fall.
✔ Use a darker version of the base color for shadows and white or yellow for highlights.
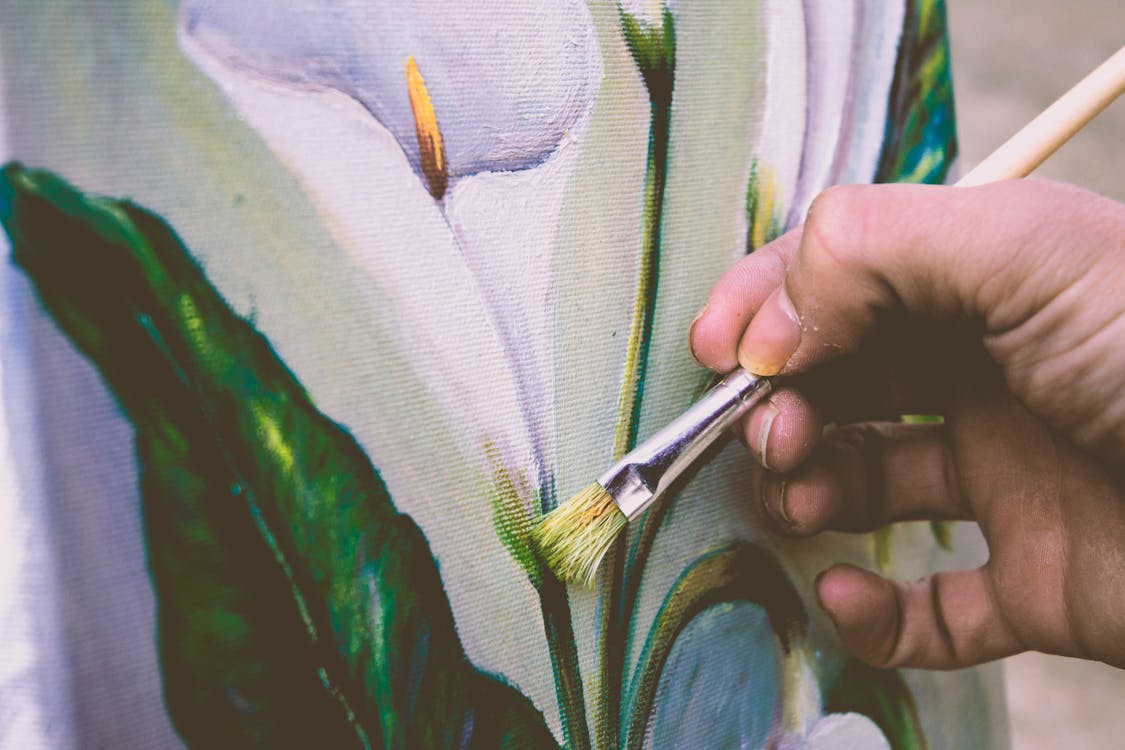
Step 6: Add Details
✔ Use a fine brush to paint the veins in petals, small dots in flower centers, or tiny highlights.
✔ For watercolors, try the wet-on-wet technique to create soft petal edges.
Step 7: Final Touches
✔ Step back and look at your painting—adjust colors, deepen shadows, and refine edges.
✔ Let it dry completely before framing or displaying!
🌺 4. Tips for Painting Flowers Like a Pro
✔ Start simple – Paint one flower before trying a whole bouquet.
✔ Blend colors naturally – Mix different shades for depth.
✔ Use different brush strokes – Experiment with dabbing, stippling, or soft blending.
✔ Observe real flowers – Nature is the best reference!
💡 Tip: If using acrylics or oils, add a touch of white or yellow to your base color to make petals glow!
🎨 Final Thoughts: Enjoy the Process!
Painting flowers is a relaxing and joyful experience. Whether you’re using watercolors, acrylics, or oils, the key is to practice, experiment, and have fun with colors and textures. 🌿
💬 Have you tried painting flowers? What’s your favorite technique? Let’s chat in the comments! 🎨🌸